Installing CommServer |
The installation of CommServer has to be done on Administrator account. Make sure that you have all prerequisites installed before (Ms NET Framework 2.0 and OPC Core Components) |
To install CommServer application, perform the following steps:
Launch CommServerSetup.exe.
CommServer Welcome dialog box (Fig. 1).
Read information and click Next.
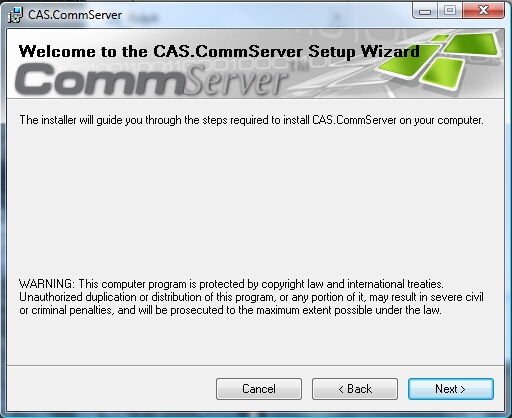 Figure 1: Setup Welcome Dialog Box
License agreement dialog box (Fig. 2) appears.
To continue the installation, you must agree with the license terms and click "Next".
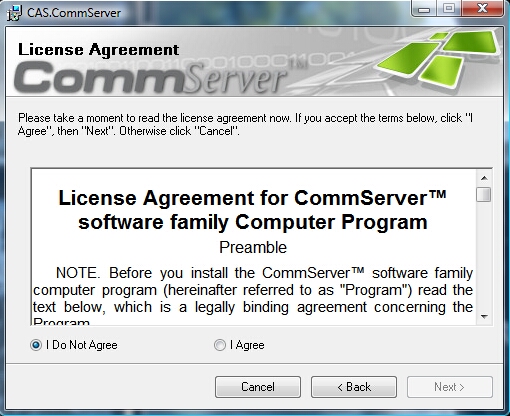 Figure 2:
User information dialog box (Fig. 3).
Enter User name, Company nameand e-mail address in appropriate text boxes and click Next.
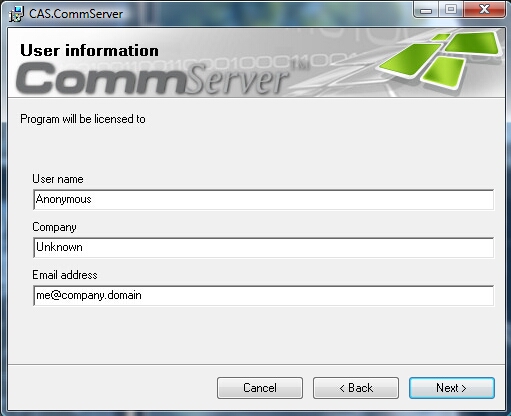 Figure 3: User Information Dialog Box
Installation dialog box (Fig. 4).
Default location for application files is specified as C:\Program Files\CAS\CommServer.
You can change it to a different location by clicking Browse button or by writing the path manually into text box. Disc Cost button shows the amount of necessary and available space on target drive. Choose option Everyone to install CommServer for anyone who uses this computer or Just me option to install only for yourself.
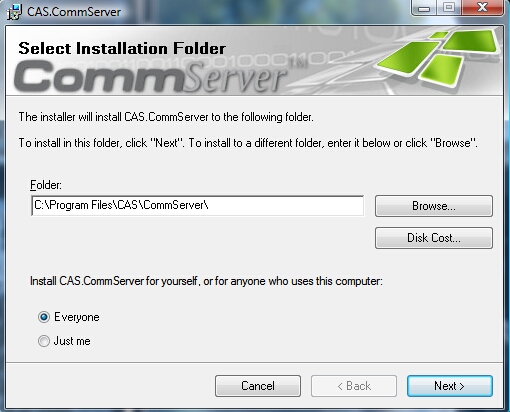 Figure 4: Installation Dialog Box
Confirmation dialog box (Fig. 5)
Click Next to start installation. You may also change any previous information by clicking Back button.
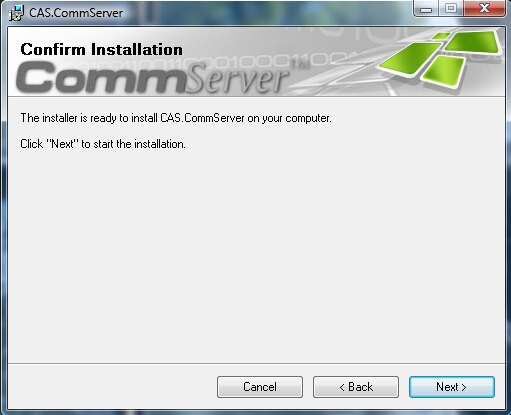 Figure 5: Confirmation Dialog Box
Installation Progress dialog box (Fig. 6).
Installation in progress. Wait until computer has finished the installation.
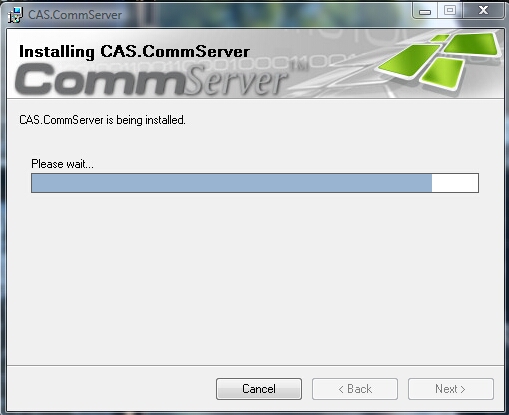 Figure 6: Installation Dialog Box
Installation Complete dialog box (Fig. 7)
The installation has been successfully finished; click Close button to exit the installation.
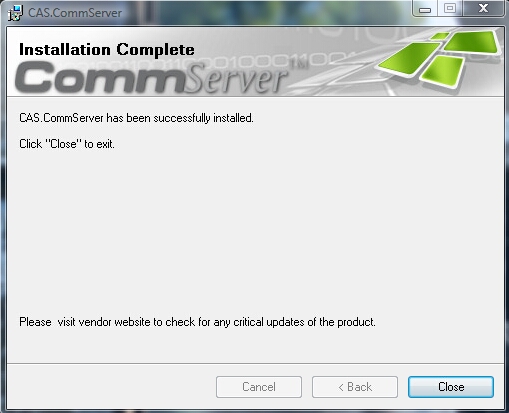 Figure 7: Installation Complete Dialog Box
All necessary files have been copied to target folder on your computer, the software components have been registered and short-cut icons have been created in start menu (Start->Programs->CAS->CommServer).